My X1 - My User Tasks
The view My User Tasks displays all user tasks that you have moved here with the action Claim Task.
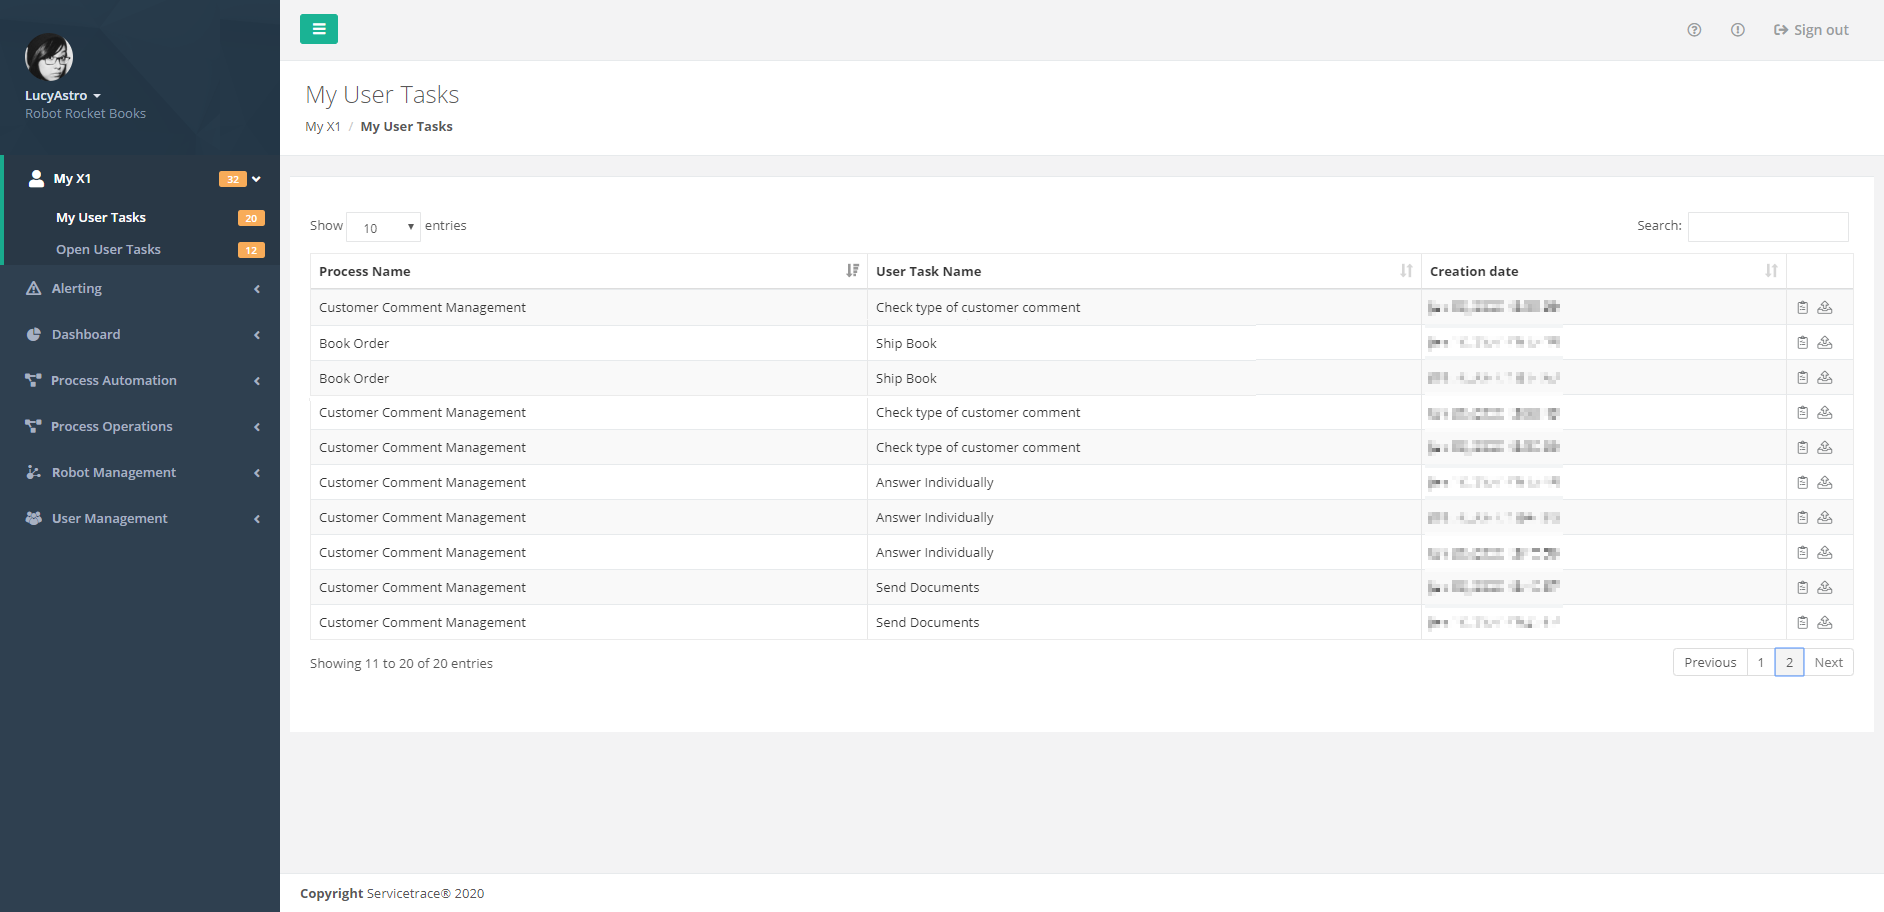
List of your open user tasks
User tasks that are in your list are not displayed to the other assigned users.
Data representation of your open user tasks
Your open user tasks are shown in a list.
Columns in the My User Tasks list
Process Name
Name of the process that contains the user task
User Task Name
Name of the user task
Creation date
Time stamp of opening of the user task by a Robot
Action
Open Task
To process the user task, click on the icon Open Task. This opens the Detailed view of the user task.
Reject Task
If you decide, however, not to process the task, click on Reject Task. This moves the task back to the List of open tasks of all assigned users.
Detailed View of the User Task

The detailed view of a User Task contains all the data that must be manually reviewed and entered. The data must already have been selected and described in the X1 Design Studio.
Where do the texts of the user task come from?
The texts of the user tasks are taken directly from the Design Studio.

The name of the user task is displayed at the top of the detailed view.
The description of the user task is taken from the field Description.
The designations for the fields are entered in the X1 Design Studio in the field Label. The variable name of the Activity Parameter is also specified next to the label.
If you drag the mouse over the info icon , the text from the Description field of the Activity Parameter is also displayed.
First, the defined default value from the Value field of the Activity Parameter is placed in the entry field. You can then overwrite this if necessary.
Variable values, which are not to be changed, but which are required as context for processing of the user task, are listed in the X1 Design Studio on the Read-only Activity Parameters used in User Task tab and displayed in the lower part of the detailed view.
For more information on User Tasks, see the X1 Design Studio Manual.
Content of a User Task
At the top of the view, the time stamp from the moment the user task was opened by a Robot is displayed, as is a description of the task.
The central area of the view contains the data that you have to enter.
The lower area displays additional unchangeable data as context.
Data Entry in a User Task
Text input fields or checkboxes are available for entry of the data.
Finishing a User Task

Click on the button Finish when you have checked and entered all the required data.
This completes the user task and the process is returned to the Robot for further implementation.
Canceling a User Task

If you cannot yet complete processing of the user task, click on the button Cancel.
The user task remains on your list.
It is not possible to partly process tasks and then store them temporarily or forward them to other users.